Technical
The Case for Testing Paint Colours Before You Commit
Testing a paint colour in the room before you commit is the most reliable way to avoid a shade that looked right only on the chart.
Older plaster can take a beautiful modern finish, but only once it has been cleaned, stabilised, repaired, and sealed with the patience the material demands.
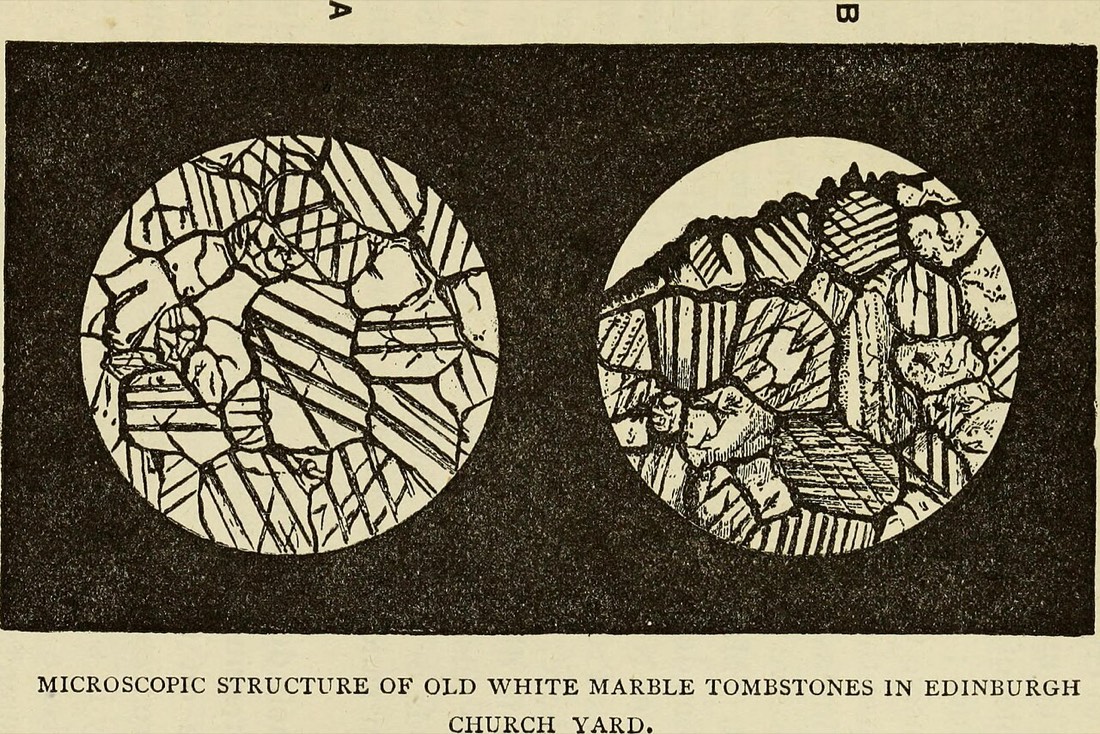
There is a quiet reward in painting old plaster well. Older walls, properly prepared, hold a finish that newer surfaces struggle to match, with a depth and solidity to them that comes from the material itself. The catch is that old plaster rarely offers up that finish easily. Decades of settling, old distemper, flaking layers, hairline cracks, and patches of unstable surface all stand between the wall as you find it and the flawless modern finish you want. The work of getting there is unglamorous, but it is where the entire result is decided.
The first mistake to avoid is treating old plaster like new. Fresh plaster and aged plaster behave differently, and a finish that goes straight onto a dusty, unstable, or previously distempered surface will fail no matter how good the paint. The preparation is not a preliminary step to rush through on the way to the fun part. On an old wall, the preparation is the job.
Begin by understanding what you are dealing with. Run your hand and your eye across the wall. Is the plaster sound and firmly attached, or does it sound hollow when you tap it, suggesting it has blown and parted from the wall behind? Are there cracks, and are they stable hairlines or active movement? Is there old distemper, a soft, chalky, water-based coating common in older homes that nothing modern will stick to reliably? Is the surface powdery or flaking?
Each of these conditions calls for a different response, and identifying them early saves a great deal of wasted effort. A wall with blown plaster needs repair, not paint. A wall coated in distemper needs that coating dealt with before anything else goes on. Spend the time to diagnose the wall honestly, because every later step depends on getting this reading right.
Once you know the condition, the wall needs to be cleaned and made stable. Loose, flaking material should be scraped back to a firm edge, and dust and dirt removed, since paint will not bond to a dirty or powdery surface. Old distemper, where present, has to be washed off as thoroughly as possible, as it will otherwise lift and take your new finish with it.
Plaster that is sound but powdery or very absorbent needs stabilising and sealing. Old plaster is often thirsty, drinking moisture out of paint so fast that the finish goes on patchy and poorly bonded. A suitable primer or sealer, chosen for the state of the wall, evens out that absorbency and gives the topcoat a stable, consistent surface to grip. On a chalky or friable wall, a stabilising solution binds the loose surface together so it can hold a finish at all. Skipping this step is the most common reason a smart-looking paint job starts to flake within a year.
With the surface clean and stable, attention turns to the defects. Hairline cracks and small holes are filled with an appropriate filler, pressed in firmly and left slightly proud so it can be sanded back flush once dry. Deeper holes or larger damaged areas may need building up in layers or patching with fresh plaster, depending on the extent of the problem. The aim throughout is a continuous, even plane, because any dip or ridge left now will show through the finished paint, especially under anything with a sheen.
Once the repairs have dried fully, the whole wall is sanded to bring filled areas level with the surrounding surface and to knock back any roughness. This is dusty, careful work, and it is worth doing thoroughly. Run your hand over the wall and feel for ridges and hollows rather than relying on the eye alone. After sanding, every trace of dust must be removed again, because dust left on the surface will undermine the bond of whatever goes on next.
Repaired and sanded areas are porous and will absorb paint differently from the surrounding wall, so priming the patches, or the whole wall where needed, evens everything out. On bare or very absorbent plaster, a thinned first coat of emulsion, often called a mist coat, lets the plaster take up moisture gradually and bond properly before the full-strength coats go on. This single step does a great deal to prevent the patchy, peeling results that plague old walls painted in a hurry.
Only now, with the wall clean, stable, repaired, sanded, and primed, is it ready for its finishing coats. Because the groundwork has been done properly, those coats go on evenly, bond securely, and reveal the smooth, modern finish that was the goal all along. The paint itself is almost the easy part by this stage.
The temptation with old plaster is always to hurry toward the colour, to see the room transformed. But old walls reward patience and punish shortcuts, and the difference between a finish that looks flawless for years and one that flakes within months is almost entirely decided in the preparation. Give the plaster the time it asks for, and it will give you a finish that newer surfaces can only envy.
It helps to think of the whole process as building a chain, where the finished paint is only the final link. If any earlier link is weak, the loose surface left unstabilised, the distemper not properly removed, the repairs not sanded flat, the thirsty plaster not sealed, then that is where the finish will eventually fail, regardless of how carefully the topcoats were applied. The paint can only ever be as good as what lies beneath it, and on an old wall a great deal lies beneath it.
A few practical habits make the difference easier to achieve. Work in good light, ideally with a lamp held at a low angle across the wall, which throws shadows that reveal flaws the eye would otherwise miss. Allow proper drying time between stages rather than pushing on while filler or primer is still green. And resist the urge to compensate for poor preparation with extra coats of paint, because more paint over an unstable surface simply means more material to fail at once.
Done this way, preparing old plaster is slow and undramatic, and the satisfaction is quiet rather than instant. There is no single moment of transformation, only the steady accumulation of small, correct steps. Yet the outcome speaks for itself in a wall that stays smooth and sound for years, aging gracefully rather than failing early. That durability, invisible on the day the job is finished, is the true measure of the work.
Testing a paint colour in the room before you commit is the most reliable way to avoid a shade that looked right only on the chart.
Most paint failures are preparation failures. A methodical approach to cleaning, filling, and priming is what separates a good result from a disappointing one.
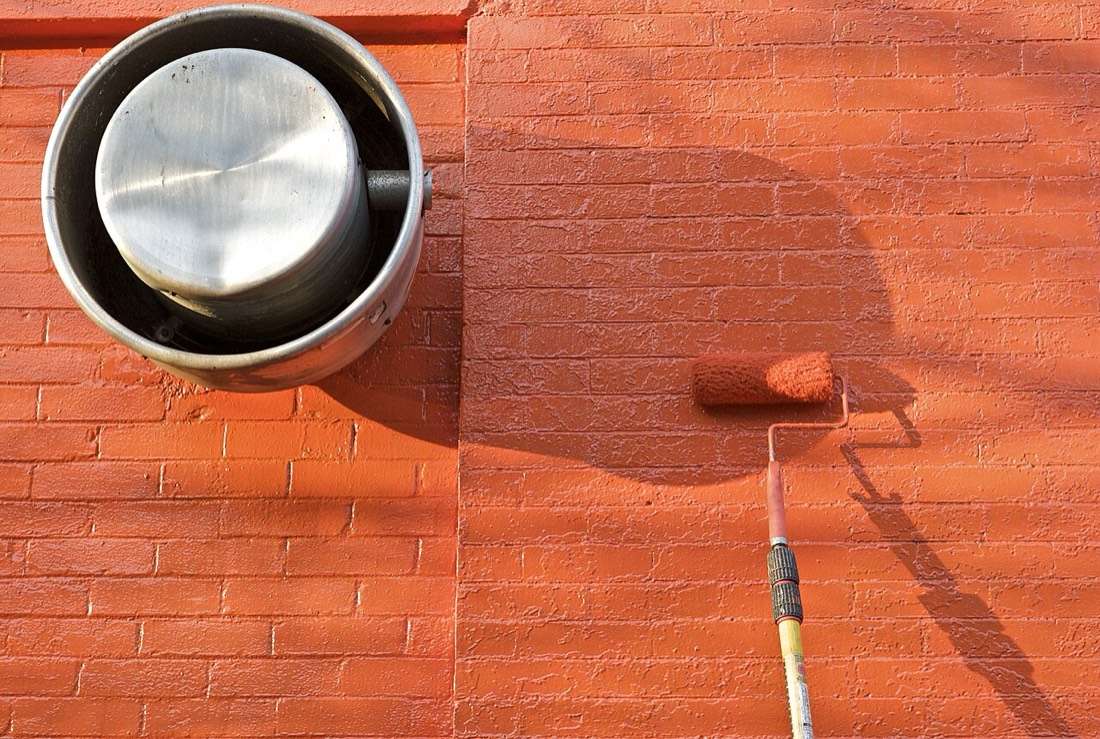
Sheen is more than a cosmetic choice. It shapes durability, washability, and how light moves across a wall.