Technical
Understanding Paint Sheen Levels and Where to Use Them
Sheen is more than a cosmetic choice. It shapes durability, washability, and how light moves across a wall.
Most paint failures are preparation failures. A methodical approach to cleaning, filling, and priming is what separates a good result from a disappointing one.
Ask any experienced decorator where the quality of a finished wall really comes from and the answer is almost always the same: not the paint, and not even the brush, but the preparation. The hours spent cleaning, filling, sanding, and priming are invisible once the final coat is on, yet they are precisely what makes that final coat look smooth, even, and durable. A rushed surface will show every shortcut, while a patiently prepared one gives mediocre paint a fighting chance and allows good paint to shine.
The first step is assessment. Before touching a single tool, look at the wall in strong, raking light, the kind that skims across the surface and reveals every lump, hollow, and old defect. A torch held flat against the wall at night does this job beautifully. Mark the problem areas lightly with a pencil so you know exactly where your filling and sanding effort needs to go. This simple survey prevents the frustration of discovering flaws only after the paint has dried.
Cleaning comes next, and it is a stage people skip at their peril. Walls accumulate dust, grease, nicotine, and in kitchens a fine film of airborne cooking oils that no paint will properly adhere to. A wash with a sugar soap solution cuts through this residue and leaves a clean, slightly keyed surface for the paint to grip. Rinse with clean water afterwards and let the wall dry fully, because painting over a damp or soapy surface invites peeling later.
With the wall clean, attention turns to repairs. Cracks, chips, nail holes, and old fixing points all need filling. For small defects a lightweight filler applied with a flexible knife is ideal, pressed firmly into the gap and left slightly proud of the surface to allow for shrinkage. Deeper holes are better tackled in two or more thin layers rather than one thick one, which can crack and slump as it cures. Fine surface cracks caused by movement may need a flexible decorator's caulk rather than a rigid filler.
Once the filler has dried completely, sanding brings everything back to a single flat plane. A medium grit knocks down the proud filler, followed by a finer grit to feather the edges so no ridge remains to catch the light. The goal is for your hand to pass across a repair and feel nothing at all. Sanding also keys any previously glossy areas, giving fresh paint something to bond to, which is why even sound old paintwork benefits from a light rub down.
Dust is the enemy of adhesion, so thorough removal after sanding is essential. Vacuum the wall and the surrounding area, then wipe down with a slightly damp cloth or a tack cloth to lift the fine powder that always clings on. A surface that looks clean can still be coated in invisible dust, and painting over it is a reliable way to end up with a gritty, poorly bonded finish.
Priming is the stage that ties the whole job together, though not every wall needs the same treatment. Bare plaster is porous and thirsty, and it should be sealed with a diluted mist coat or a dedicated plaster primer before any topcoat, otherwise the fresh plaster will drink the paint unevenly and the colour will look patchy. New plaster must also be fully dry, which can take several weeks, before it is sealed at all.
Filled patches present a different challenge. Even after sanding, areas of dried filler are more absorbent than the surrounding paint, and if you apply colour straight over them those patches will dry to a different sheen, a problem known as flashing. Spot-priming the repairs, or priming the whole wall, evens out the porosity so the topcoat dries to a single consistent finish across the entire surface.
Stains deserve special mention because ordinary paint will not reliably cover them. Water marks, tannins bleeding from wood, nicotine, and ink can all leach through coat after coat of standard emulsion. A stain-blocking primer forms a barrier that locks the discolouration away, and using it is far cheaper and faster than applying five hopeful coats of topcoat that never quite win the battle.
With the wall cleaned, filled, sanded, dusted, and primed, the actual painting becomes the easy and satisfying part. The surface is uniform in texture and absorbency, there are no defects waiting to be highlighted, and the paint can be applied in confident, even coats. Two thin coats will almost always outperform one thick one, flowing out smoothly and drying without runs or heavy edges.
It is worth resisting the temptation to hurry between stages. Fillers, primers, and topcoats each have a recoat time for a reason, and painting over a layer that has not fully cured traps moisture and weakens adhesion. The patience shown here is repaid many times over in a finish that stays sound for years rather than months.
Edges and transitions deserve the same attention as the open field of the wall. The line where wall meets ceiling, the corners, and the junctions around sockets and switches are where careless work shows most plainly. Running a fine bead of flexible caulk along the gap between wall and trim, then wiping it smooth, closes the small shadow lines that otherwise betray even a neat paint job. Masking these areas cleanly and removing the tape while the paint is still slightly tacky gives the crisp, deliberate edges that make a room look professionally finished.
Preparation is rarely the glamorous part of decorating, and it is tempting to think of it as time taken away from the real work. In truth it is the real work. The paint simply records how well the surface beneath it was prepared, and a wall that has been treated with care will reward that effort every time the light falls across it.
Sheen is more than a cosmetic choice. It shapes durability, washability, and how light moves across a wall.
Beyond colour charts, the real health of a home lives in its air, its light and its surfaces. A practical look at the details that shape how you feel indoors.
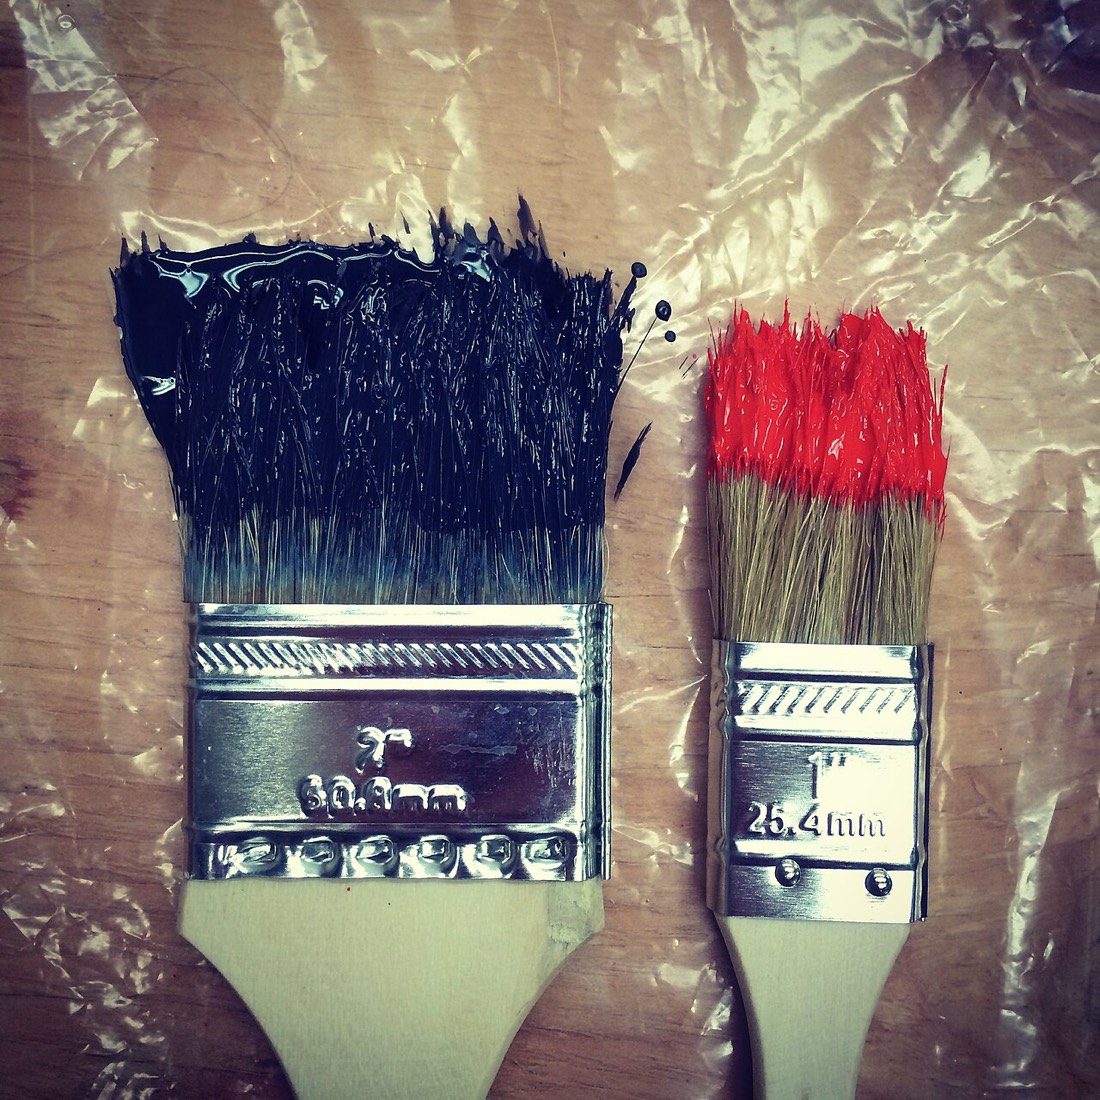
Sheen is the quiet technical decision that determines how durable, washable and forgiving your paint finish will be. Getting it right matters as much as the colour itself.