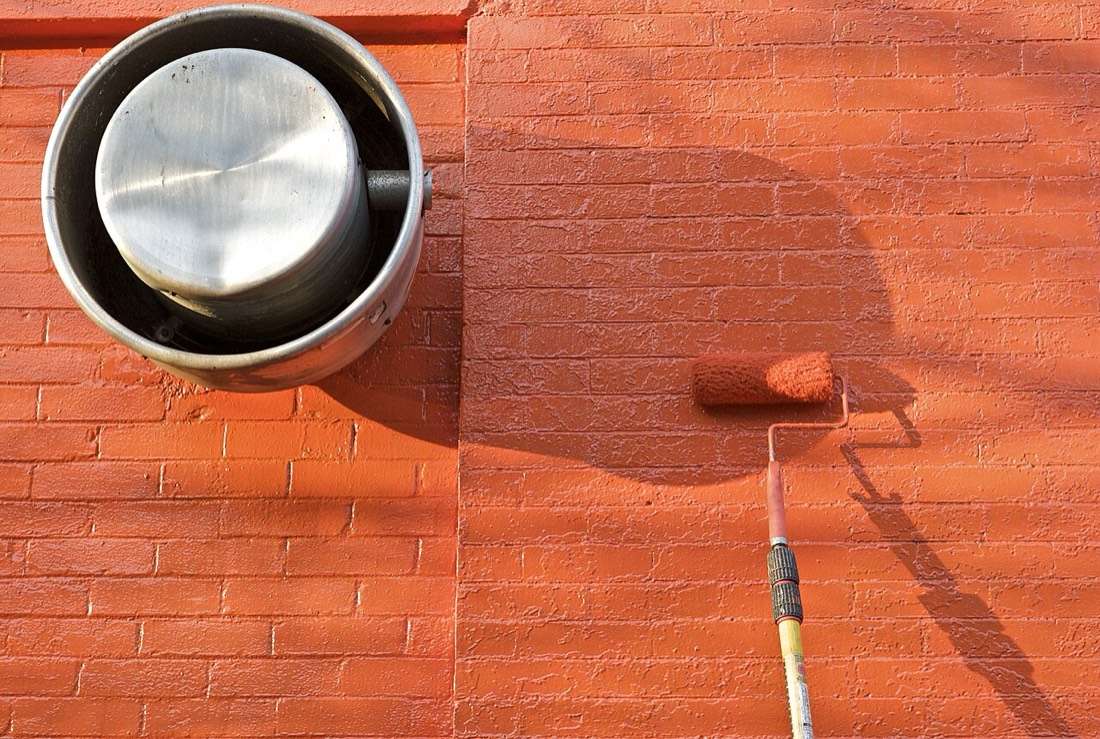
Renovation
Limewash: The Soft Finish With Centuries of History
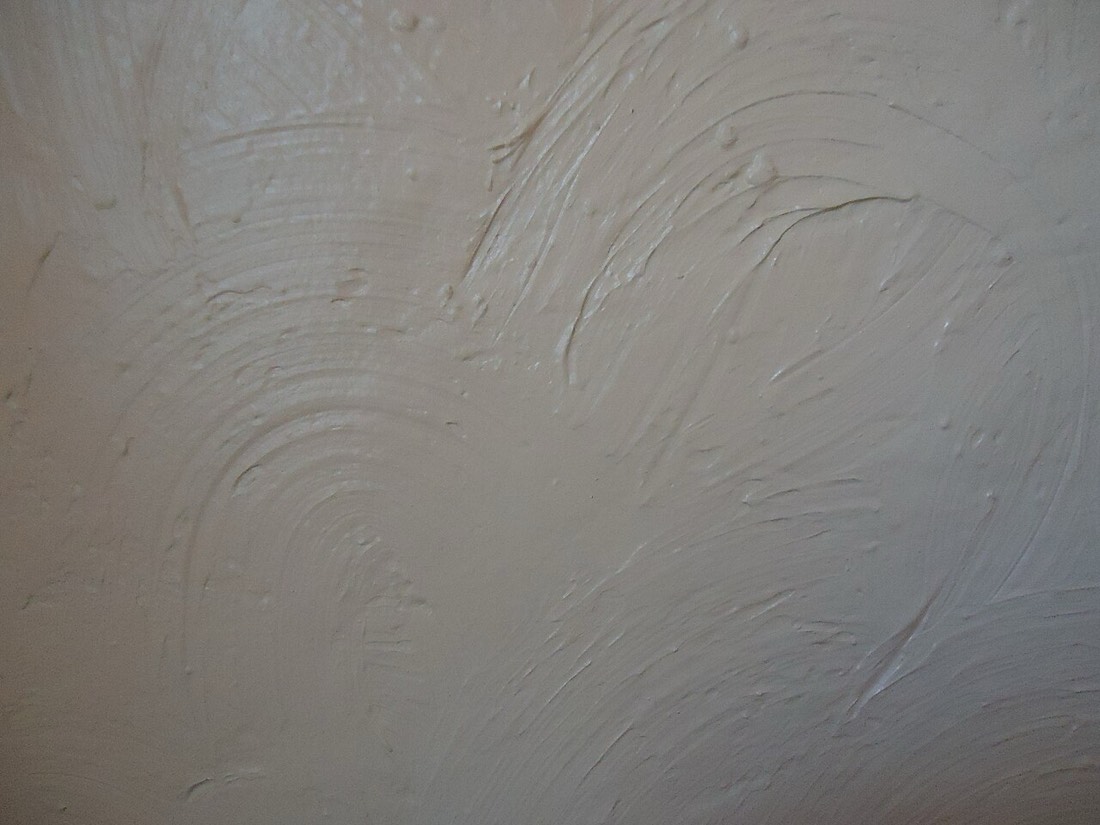
Limewash is one of the oldest wall finishes known to the home, and its appeal has never truly faded. Made from slaked lime thinned with water, it sink
Most paint failures start long before the brush touches the wall. A patient, methodical preparation routine is the single biggest factor in a professional-looking result.

Ask any experienced decorator what separates an amateur paint job from a professional one, and you will almost never hear an answer about brushes or expensive paint. You will hear about preparation. The finish you see on a beautifully painted wall is really the sum of a dozen small, unglamorous steps that happened before any colour was opened. Skipping them is the most common reason a freshly painted room looks tired again within a year.
The first task is simply to look. Stand close to the wall in raking light, meaning light that strikes the surface at a shallow angle, and you will suddenly see every dent, nail hole, hairline crack and lumpy old filler repair that was invisible under flat daylight. Mark the problem areas lightly with a pencil. This inspection stage takes ten minutes and saves you from the frustration of spotting flaws only after the topcoat has dried.
Next comes cleaning, a step that homeowners routinely skip and professionals never do. Walls accumulate a surprising film of grease, dust and airborne residue, and that film stops paint from bonding properly. Kitchens and hallways are the worst offenders. A solution of warm water with a little sugar soap, applied with a sponge and then rinsed with clean water, removes the invisible barrier that would otherwise cause peeling and poor adhesion. Allow the surface to dry completely before moving on.
With the wall clean, turn to the defects you marked earlier. A good lightweight filler is easy to apply with a flexible putty knife, and the trick is to press it firmly into the hole rather than smearing it across the surface. Slightly overfill, because filler shrinks as it dries. Deep holes are better tackled in two thin passes than one thick one, which tends to crack and sink in the middle.
Once the filler has cured, sanding brings everything level. A medium grit knocks back the proud filler, and a finer grit feathers the edges so the repair disappears into the surrounding wall. Run your bare hand across the area with your eyes closed; your fingertips detect ridges that your eyes miss. The goal is a surface that feels like a single continuous plane, not a patchwork of repairs.
Sanding generates a great deal of fine dust, and that dust is the enemy of adhesion. Vacuum the wall and the floor, then wipe the surface with a slightly damp cloth or a tack cloth to lift the last of the particles. If you paint over dust, you effectively glue grit into your finish, and no amount of care with the roller will hide it.
Cracks deserve special mention because they are so often repaired badly. A simple hairline crack can be opened slightly with the corner of a scraper, dusted out, and filled with a flexible filler that can move with the building. Rigid filler in a moving crack will simply reappear. For recurring cracks around door frames or ceiling junctions, a flexible decorator's caulk applied with a gun and smoothed with a wet finger gives a clean, durable line.
Priming is the step that bridges preparation and painting. Bare plaster, filler repairs and patchy surfaces all absorb paint unevenly, which shows up as dull, flat spots in the final coat. A suitable primer or a thinned coat of your base paint seals these areas so the topcoat sits uniformly. New plaster in particular needs a sealing mist coat, roughly the paint thinned with water, before it will accept full-strength emulsion without flaking.
Do not overlook the perimeter work. Removing switch plates and socket covers, rather than cutting around them, gives a far cleaner edge and takes only a minute with a screwdriver. Masking tape along skirting boards and window frames protects adjacent surfaces, but it must be pressed down firmly along its edge to stop paint bleeding underneath. Burnishing the tape edge with a flat tool creates a crisp line that looks deliberately sharp rather than accidentally wobbly.
Timing matters more than most people realise. Each stage needs to dry fully before the next begins, and rushing is where projects unravel. Painting over damp filler traps moisture that later bubbles the surface. Working in a cold, humid room extends drying times dramatically. A warm, well-ventilated space with the windows cracked open is ideal, allowing solvents and moisture to escape without drying the paint so fast that it leaves brush marks.
It helps to think of preparation as building the quality of the finish rather than simply protecting it. Every flat, clean, sealed square metre is a surface that will reflect light evenly and hold colour truly. The paint merely reveals the work underneath. A cheap paint on a beautifully prepared wall will nearly always look better than an expensive paint slapped over a neglected one.
It is also worth keeping a simple record of what you did and which products you used, especially the primer and the exact colour and finish of the topcoat. A small note tucked inside a kitchen cupboard pays for itself the first time you need to touch up a scuff, because matching an old finish by guesswork almost never works and usually leaves a patch that catches the light differently from the surrounding wall. Decorators who maintain these notes rarely have to repaint entire walls over a single mark.
Finally, resist the urge to measure success by speed. A room prepped properly over a weekend will still look crisp years later, while a rushed job will nag at you every time the afternoon sun rakes across the wall and highlights a repair you hoped no one would notice. Preparation is slow, quiet and deeply satisfying, and it is the real secret that no tin of paint will ever print on its label.
Limewash is one of the oldest wall finishes known to the home, and its appeal has never truly faded. Made from slaked lime thinned with water, it sink
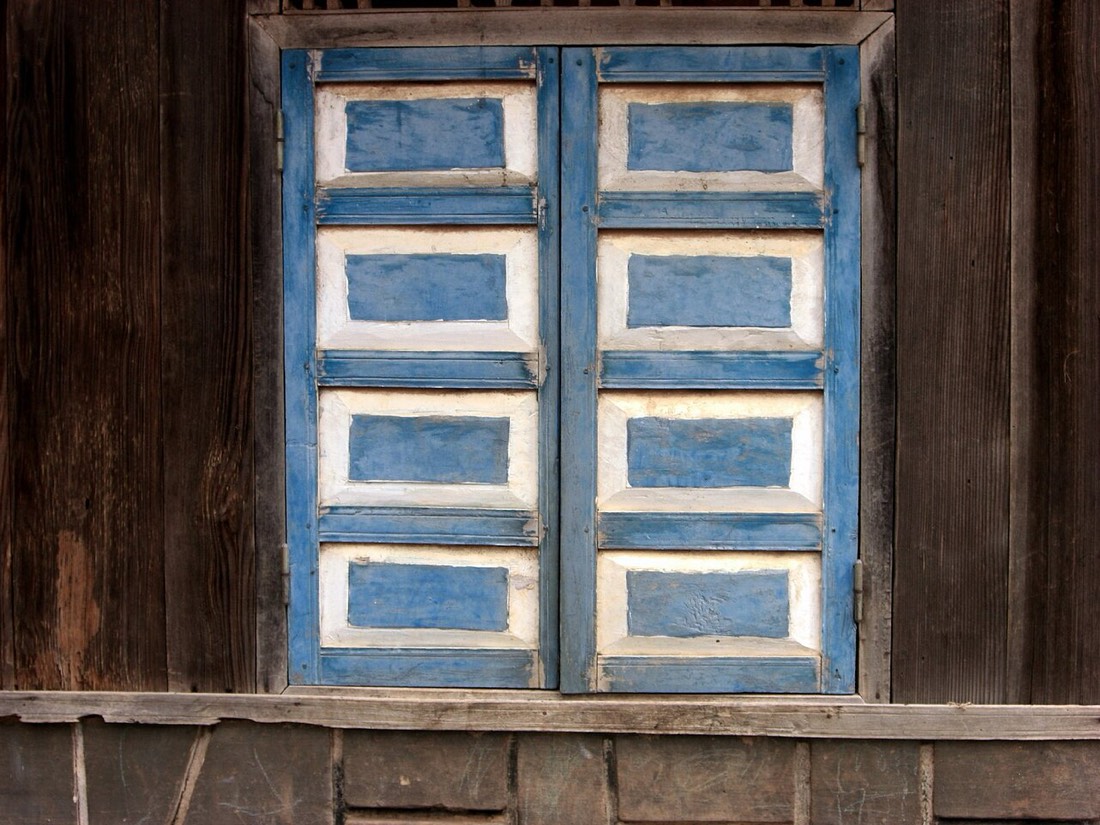
North-facing rooms receive a cool, constant light that flatters some colours and flattens others. Without direct sun, the light carries a faintly blue
A room's architecture is its framework, and colour can celebrate it. Cornicing, panelling, beams, and alcoves all respond to considered paint. Highlig