Renovation
Limewash: The Soft Finish With Centuries of History
Limewash is one of the oldest wall finishes known to the home, and its appeal has never truly faded. Made from slaked lime thinned with water, it sink
Bringing skirtings, doors, frames and banisters back to life through careful stripping, repair, sanding and refinishing.
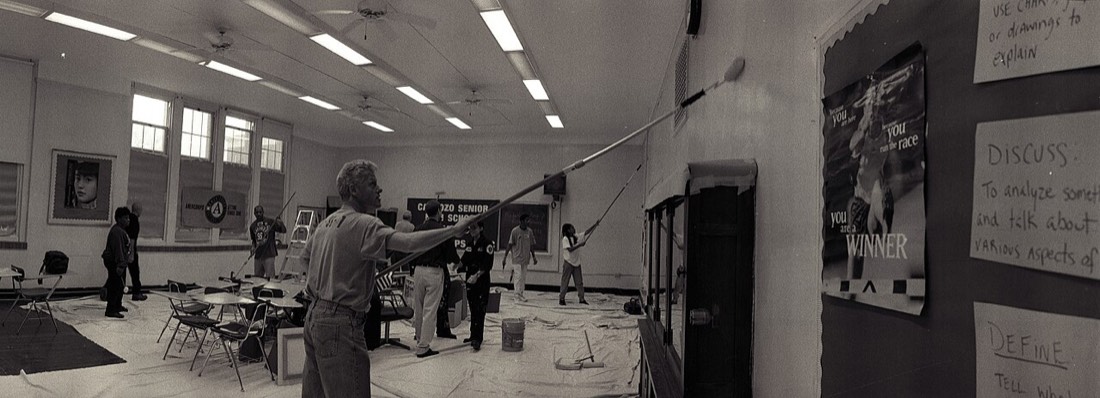
Interior woodwork, the skirtings, architraves, doors, window frames, picture rails and banisters that frame a room, takes a great deal of wear and tends to show its age sooner than the walls around it. Layers of old gloss yellow and crack, edges chip, and hands and furniture leave their marks. Restoring tired woodwork is among the most satisfying renovation jobs because the transformation is so marked, but it rewards patience in preparation above all.
The first decision is whether to strip the old finish or simply refinish over it. If the existing paint is sound, well adhered and reasonably smooth, it can be cleaned, keyed and overpainted. Where it is thick, heavily cracked, flaking or obscuring fine detail such as moulding profiles, stripping back is the better course. Paint can be removed by careful scraping, by sanding, or with a hot air gun used cautiously, keeping the heat moving to avoid scorching the timber. In older properties particular caution is warranted, as very old paint layers may contain lead, in which case dry sanding and burning off should be avoided and specialist guidance followed.
With the surface back to a workable state, repairs come next. Splits, chips, dents and open joints should be filled with a suitable wood filler, built slightly proud and, once hard, sanded flush. Gaps where woodwork meets plaster, such as the top of a skirting or the edge of an architrave, are best closed with flexible decorator's caulk rather than rigid filler, since these joints move and a rigid fill would crack. A well-caulked junction gives that crisp, seamless line between wall and woodwork that marks out careful work.
Sanding is the heart of a good woodwork finish. The aim is both to smooth repairs flush and to key any remaining old paint so fresh coats will grip. Work along the grain, progressing through finer grades of abrasive, and take care over mouldings and corners where it is easy to cut through edges. Every trace of dust must then be removed, by vacuuming and wiping with a tack cloth or slightly damp rag, because dust trapped under paint ruins both adhesion and smoothness, which on glossy trim is pitilessly visible.
Bare timber and new filler should be primed. A wood primer seals the grain and provides a sound base, and knots in softwood must first be sealed with a knotting solution or stain-blocker to stop resin bleeding through. An undercoat then builds body and evens the colour, ready for the topcoats. Modern water-based trim paints have much to recommend them for this work: they dry quickly, carry little odour and, importantly, resist the yellowing that afflicts traditional oil-based gloss, so a brilliant white stays white. Where a very hard, high-gloss traditional look is wanted, oil-based paint still has its place, at the cost of slower drying and a tendency to mellow over time.
Application technique finishes the job. Thin, even coats laid on and then laid off with light strokes along the grain produce a smoother result than heavy coats, which run and sag on vertical and detailed surfaces. Allowing each coat to dry fully and giving it a very light sanding before the next removes nibs of dust and improves the final feel. Two topcoats over a sound primer and undercoat will typically give a deep, even finish. Restored this way, woodwork that looked tired and dated can once again become one of the sharpest and most pleasing features of a room.
Limewash is one of the oldest wall finishes known to the home, and its appeal has never truly faded. Made from slaked lime thinned with water, it sink
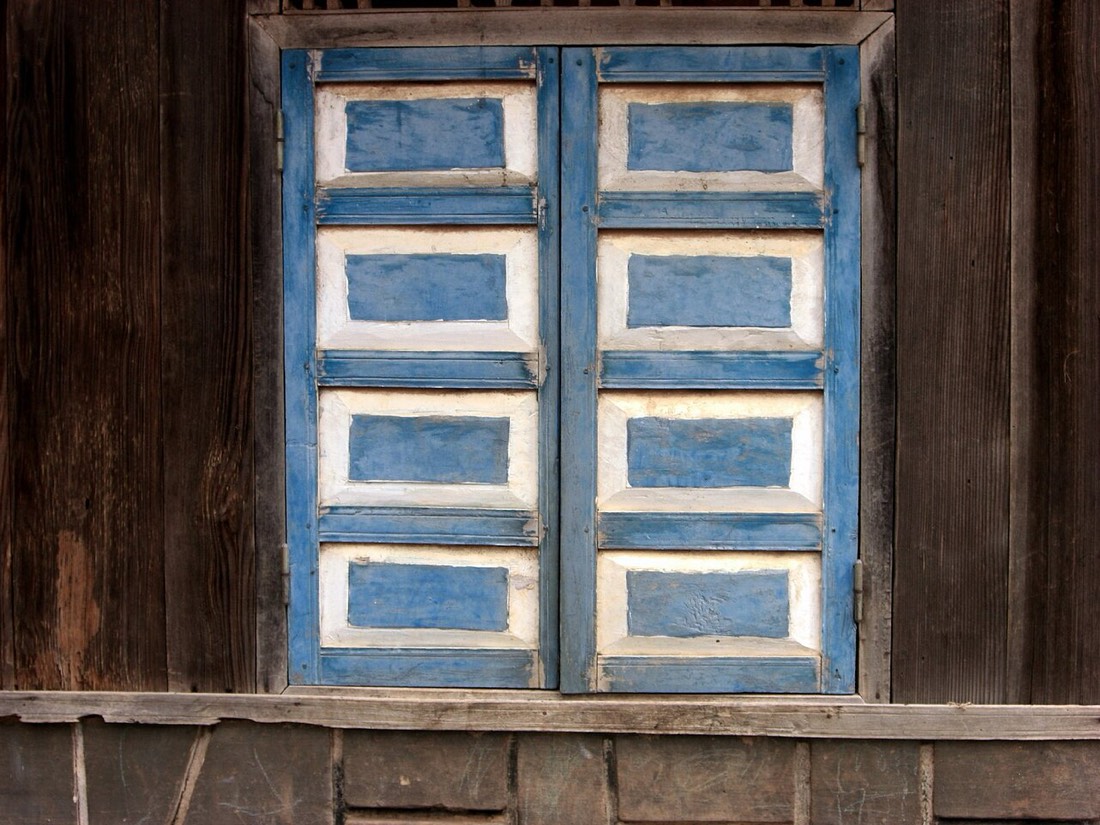
North-facing rooms receive a cool, constant light that flatters some colours and flattens others. Without direct sun, the light carries a faintly blue

The garden is an open-air room that rewards thoughtful colour. Painted fences, sheds, furniture, and walls all offer a canvas. Considered colour turns