Renovation
Limewash: The Soft Finish With Centuries of History
Limewash is one of the oldest wall finishes known to the home, and its appeal has never truly faded. Made from slaked lime thinned with water, it sink
Why you must cure the cause before you touch a brush, and how to safely treat and repaint a wall that has suffered damp or mould.
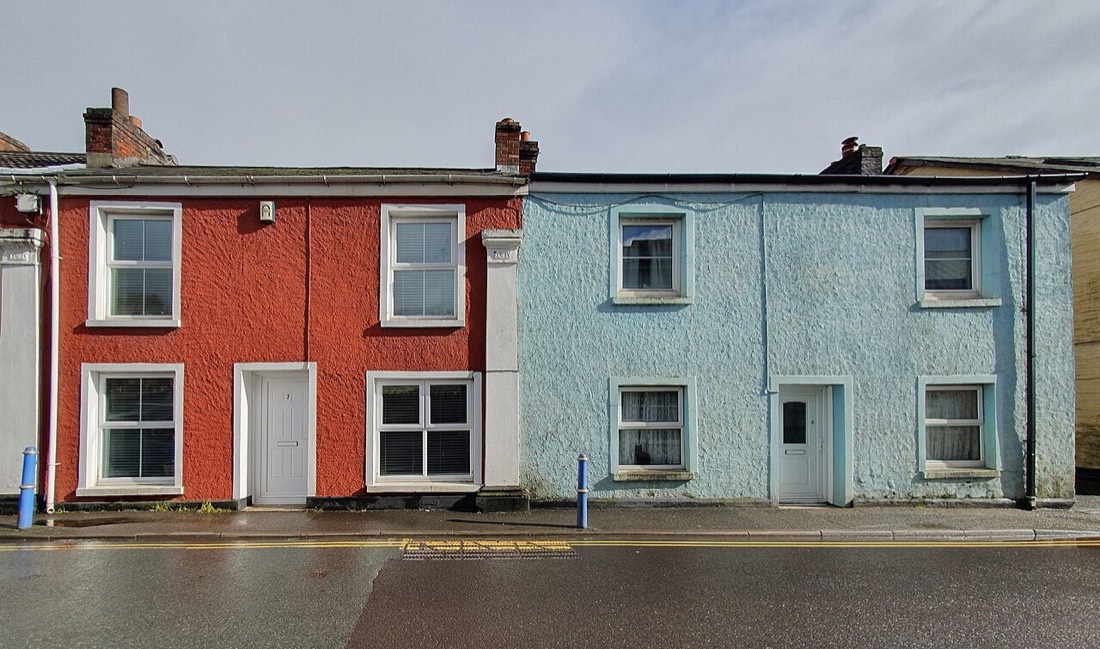
Painting over a damp or mouldy wall without addressing the underlying problem is one of the most common and most futile decorating mistakes. Paint is a decorative finish, not a cure; applied over active damp it will blister, flake and allow mould to return within weeks. The essential first principle is that the source of moisture must be identified and resolved before any redecoration begins. Everything that follows depends on this.
Damp in walls has several typical causes, and diagnosing which one you face shapes the remedy. Condensation, by far the most common in homes, occurs where warm, moisture-laden air meets a cold surface and water forms, often in corners, behind furniture and around windows. Penetrating damp enters through a defect such as failed pointing, a cracked render, a leaking gutter or a bridged cavity. Rising damp draws ground moisture up through the structure where a damp-proof course is absent or failed. Each requires a different fix, from improving ventilation and heating to repairing external defects, and this work should be carried out, and the wall allowed to dry out fully, before repainting.
Where mould is present, it must be killed and removed, not merely painted over. Mould is a living growth, and a coat of paint will neither stop it nor hide it for long. The affected area should be treated with a proprietary fungicidal wash, applied according to its instructions and left to work, which kills the spores. Protective gloves, eye protection and a suitable mask are sensible, since disturbing mould releases spores, and the room should be well ventilated throughout. After treatment the surface is cleaned down and, crucially, allowed to dry thoroughly. This drying period cannot be rushed; a wall that feels dry at the surface may still hold moisture within.
Only once the cause is cured and the wall is genuinely dry should attention turn to the finish. Any loose, blistered or flaking old paint must be scraped back to a sound surface, and residual staining sealed. A stain-blocking primer prevents old water marks and tide lines bleeding through the new paint, giving a clean base. Where mould has been a recurring problem, finishing with an anti-mould or fungicidal paint, which contains agents that discourage regrowth, adds a useful layer of protection, though it is a supplement to, never a substitute for, fixing the moisture source.
Ventilation and heating deserve ongoing attention long after the paint has dried, particularly where condensation was the culprit. Keeping rooms gently and consistently warm, allowing air to circulate rather than trapping it behind furniture pushed hard against external walls, and extracting moist air from kitchens and bathrooms all reduce the conditions mould needs. A redecoration that ignores these habits will simply set the clock running on the next outbreak.
It is worth being realistic about the timescale. A wall affected by penetrating or rising damp may need weeks of drying after repairs before it is ready to paint, and forcing the schedule guarantees failure. Patience here is not optional. The reward for doing it properly, curing the cause, killing the mould, drying out, sealing and finishing with the right paint, is a wall that stays clean and sound rather than one that must be redone every year. Treating the symptom alone is always the more expensive route in the end.
Limewash is one of the oldest wall finishes known to the home, and its appeal has never truly faded. Made from slaked lime thinned with water, it sink
North-facing rooms receive a cool, constant light that flatters some colours and flattens others. Without direct sun, the light carries a faintly blue

The garden is an open-air room that rewards thoughtful colour. Painted fences, sheds, furniture, and walls all offer a canvas. Considered colour turns