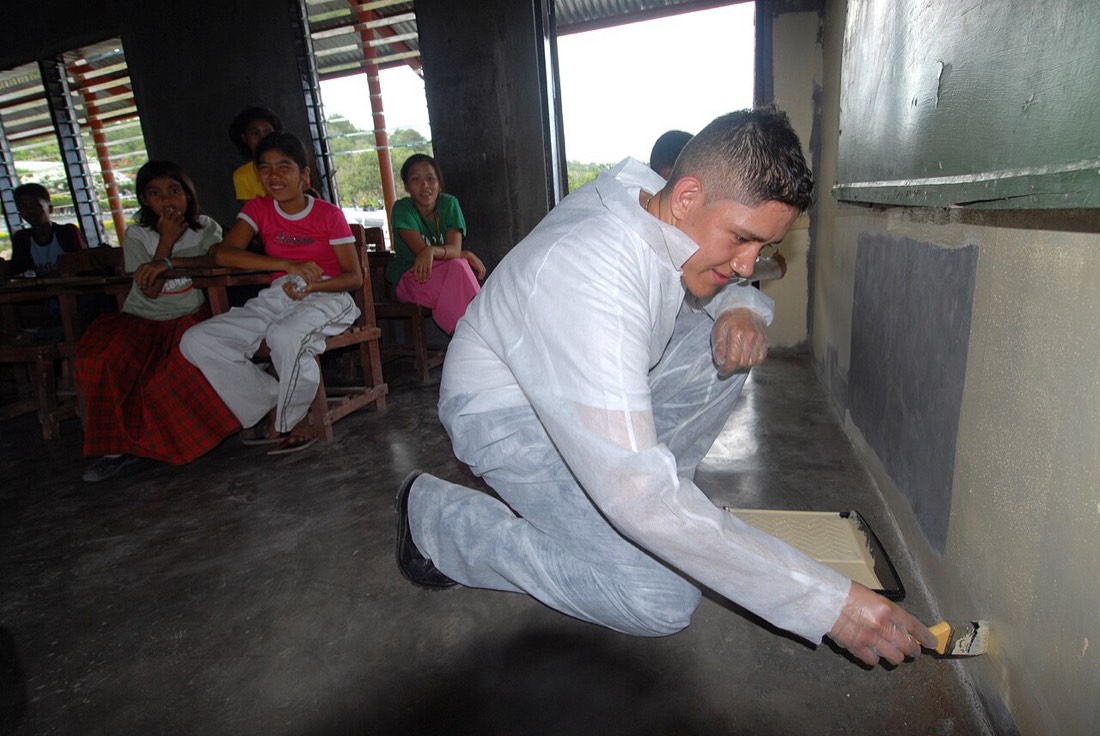
Guide
How to Prep Walls for a Flawless Paint Finish
Most paint failures start long before the brush touches the wall. A patient, methodical preparation routine is the single biggest factor in a professional-looking result.
Doors, skirting and architraves are where a decorating job is judged up close. A methodical approach turns a fiddly task into a crisp, lasting finish.
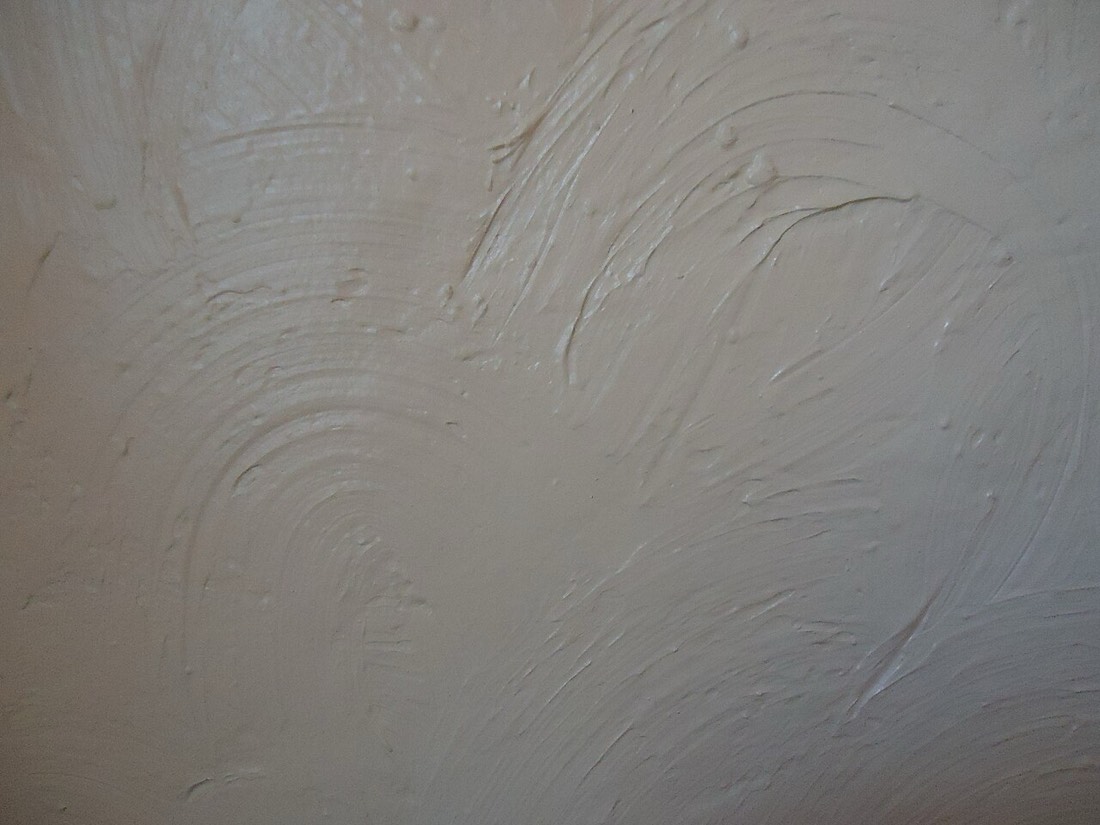
Walls get painted quickly and from a distance, but woodwork is examined up close and often touched. Skirting boards, architraves, doors and window frames are where guests run a fingertip and where the honesty of your work shows. They are also the most fiddly surfaces in any room, full of edges, profiles and corners. The good news is that patient technique, rather than natural talent, is what produces a glass-smooth finish on timber.
Everything begins with the condition of the existing paint. Old woodwork is usually coated in layers of previous gloss or satin, and these harder films need to be dulled before new paint will grip them. A thorough sand with a medium grit abrasive keys the surface, meaning it creates microscopic scratches for the new coat to bond to. Skip this and your fresh paint can peel away in sheets months later, taking your effort with it.
Repairing before painting is especially important on timber because it takes knocks. Chips, dents and split corners should be filled with a wood filler, which is firmer than the lightweight fillers used on walls and better able to survive the impacts that woodwork endures. Overfill slightly, let it cure, then sand flush. Gaps where skirting meets the wall or where architrave meets plaster are best closed with a flexible decorator's caulk, smoothed with a wet fingertip for a seamless line.
Bare timber, knots and filler repairs all need priming before the topcoat. Knots in particular can bleed sticky resin that stains through paint for years, so a specialist knot-sealing primer on those spots is a small step that prevents an ugly long-term problem. A primer also evens out the absorbency of the surface so the topcoat lies uniformly rather than sinking into some areas and sitting proud on others.
Thinking about the order of work saves a great deal of grief. The old decorator's rule is to work from the top of the room down and from the inside out. Paint door panels before the surrounding stiles and rails, paint the frame before the architrave if the colours differ, and leave skirting boards until last because they collect dust and are easiest to protect at the end. A logical sequence means wet edges never force you to rush.
The concept of the wet edge is central to a flawless finish on woodwork. Paint that has begun to dry and is then overlapped with fresh paint leaves a visible ridge or a patch of double thickness. The solution is to keep a wet edge, which means always painting into the still-wet border of the area you just completed rather than letting sections dry in isolation. On a long skirting board, this means working briskly along its length rather than dabbing here and there.
Brush choice and loading technique matter more on woodwork than anywhere else. A good quality angled brush reaches into profiles and cuts a clean line against walls. Load it by dipping only the lower third of the bristles and tapping off the excess rather than scraping it against the tin rim, which removes too much and leaves the brush starved. A properly loaded brush carries enough paint to flow out smoothly without dripping.
Laying off is the finishing move that separates neat work from professional work. After spreading the paint, you make a final series of light, unidirectional strokes with an almost dry brush, always in the direction of the grain. This gentle pass levels the paint, erases heavy brush marks and leaves fine, even lines that the drying film then flows together. It takes seconds and transforms the look of the finish.
Thin coats beat thick ones every single time. The temptation is to load the brush heavily and finish in one pass, but thick paint sags, runs and dries with an uneven texture. Two or three thin coats, each sanded very lightly with a fine abrasive once dry and dusted off, build a deep, smooth finish that a single heavy coat can never match. Patience between coats is rewarded with a surface that looks almost sprayed on.
Doors deserve their own mention because they are large and visible. Removing the handles rather than cutting around them gives a cleaner result, and painting the door in a consistent sequence, panels first, then the central vertical, then horizontals, then the outer verticals, keeps the finish even. Wedging the door open and painting it in place is fine, but working in good light so you can spot runs before they set is essential.
Drying and recoating times printed on the tin are not suggestions. Recoating too soon drags the partially dried film beneath and wrecks the finish, while leaving a hard film too long before the next coat can harm adhesion. Working in a warm, dust-free, well-ventilated room keeps drying predictable. Closing windows against pollen and dust while the paint is wet prevents airborne particles from embedding in the tacky surface.
Cleaning up as you go is part of a good woodwork routine rather than an afterthought. Brushes used for a second or third coat should be kept workable between sessions, and wrapping a loaded brush snugly so the bristles do not dry out saves both time and the cost of ruined tools. A quick wipe of any splashes on adjacent surfaces while they are still wet is vastly easier than scraping dried flecks off a windowpane or a tiled floor the following day.
Done well, painted woodwork frames a room the way a border frames a picture. Crisp skirting, clean architraves and a smoothly finished door quietly signal that the whole job was done with care. It is slow, close work that rewards patience rather than speed, and it is precisely the part of the room that people remember running their hand across long after they have forgotten the colour of the walls.
Most paint failures start long before the brush touches the wall. A patient, methodical preparation routine is the single biggest factor in a professional-looking result.
The paint is dry and the dust has settled, but a home only truly comes alive through the small daily habits you build inside it.
The best home refresh starts not with a trend but with an honest look at your routines, your energy and the way you really spend your days.