How to Apply a Decorative Lime and Spatula Finish
Create a soft, mottled plaster effect with depth and movement using a steel trowel.
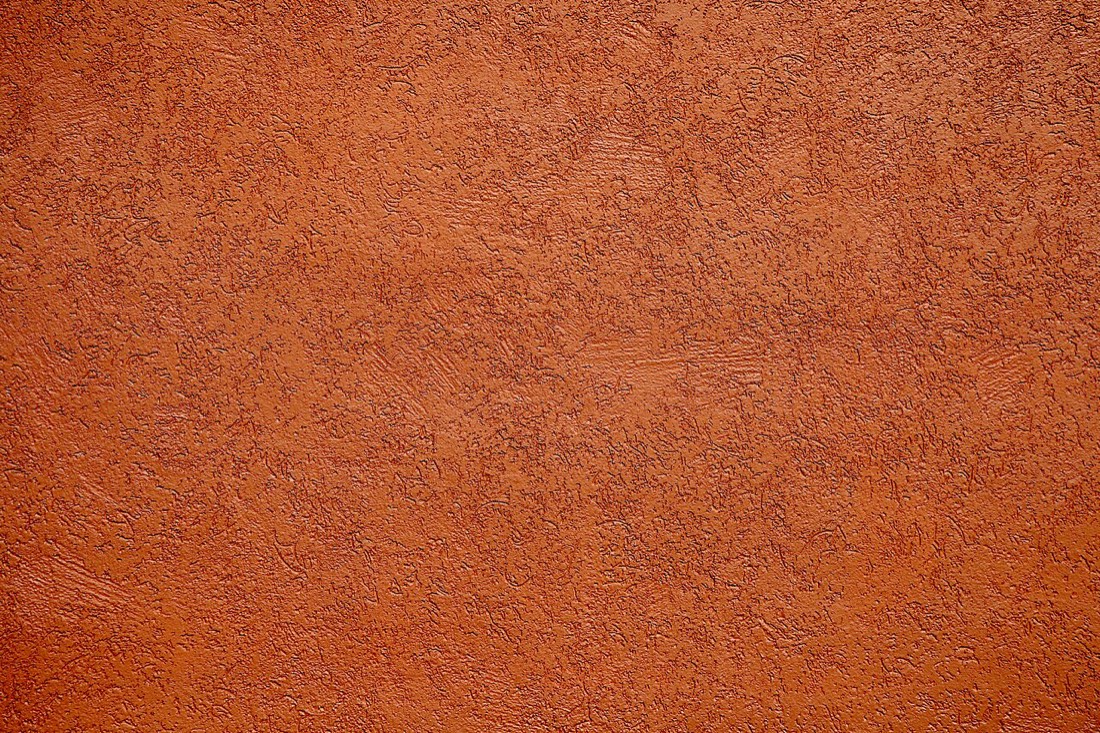
A lime and spatula finish brings the tactile, cloud-like depth of old plaster to a modern interior, catching the light differently through the day. It is a decorative technique that rewards patience and a relaxed, confident hand.
Because the effect is built up in thin, layered passes, no two walls ever look quite the same. Practise your trowel strokes on a spare board first to find a rhythm you are happy with before committing to the wall.
What you will need
- Flexible steel trowel or spatula
- Fine surface filler
- Base coat
- Decorative lime plaster paint
- Soft polishing cloth
- Fine sanding pad
- Clear protective topcoat
Prepare a flawless base
The effect shows every flaw beneath it, so fill, sand and dust the wall until it is perfectly smooth. Apply a base coat in a tone close to your finish colour and let it dry. A sound, even base is the foundation of a convincing result.
Load the trowel
Take a small amount of the decorative plaster paint onto the edge of a clean steel trowel. Work with modest quantities; overloading leads to heavy ridges that are hard to control. Keep a damp cloth to hand to wipe the trowel clean between passes.
Apply the first layer
Spread a thin, patchy first coat using short, overlapping strokes at varying angles, leaving some base colour showing through. Do not aim for full coverage at this stage. This open layer establishes the broad movement of the finish.
Build the second layer
Once the first layer is dry, apply a second in the same loose, random manner, filling some of the gaps and adding depth. Vary the direction of your strokes so no repeating pattern emerges. Step back regularly to read the overall balance.
Burnish the surface
When the final layer has firmed up, polish the surface by passing the clean trowel flat over it with light pressure. This compresses the finish and brings up a subtle sheen and the characteristic marbled depth. Work gently to avoid scratching.
Smooth and seal
Lightly knock back any sharp ridges with a fine sanding pad, then wipe the wall clean. Apply a clear protective topcoat to guard the finish, particularly in hallways or kitchens. The sealer also deepens the colour and adds longevity.